Onamission
Exoracing 12V Illuminated ON OFF Rocket Switch
Exoracing 12V Illuminated ON OFF Rocket Switch
Couldn't load pickup availability
Why use Exoracing rocket-style switches?
If you need to add an ON/OFF switch to your vehicle, is there a better option than a rocket-style switch?
I thought not.
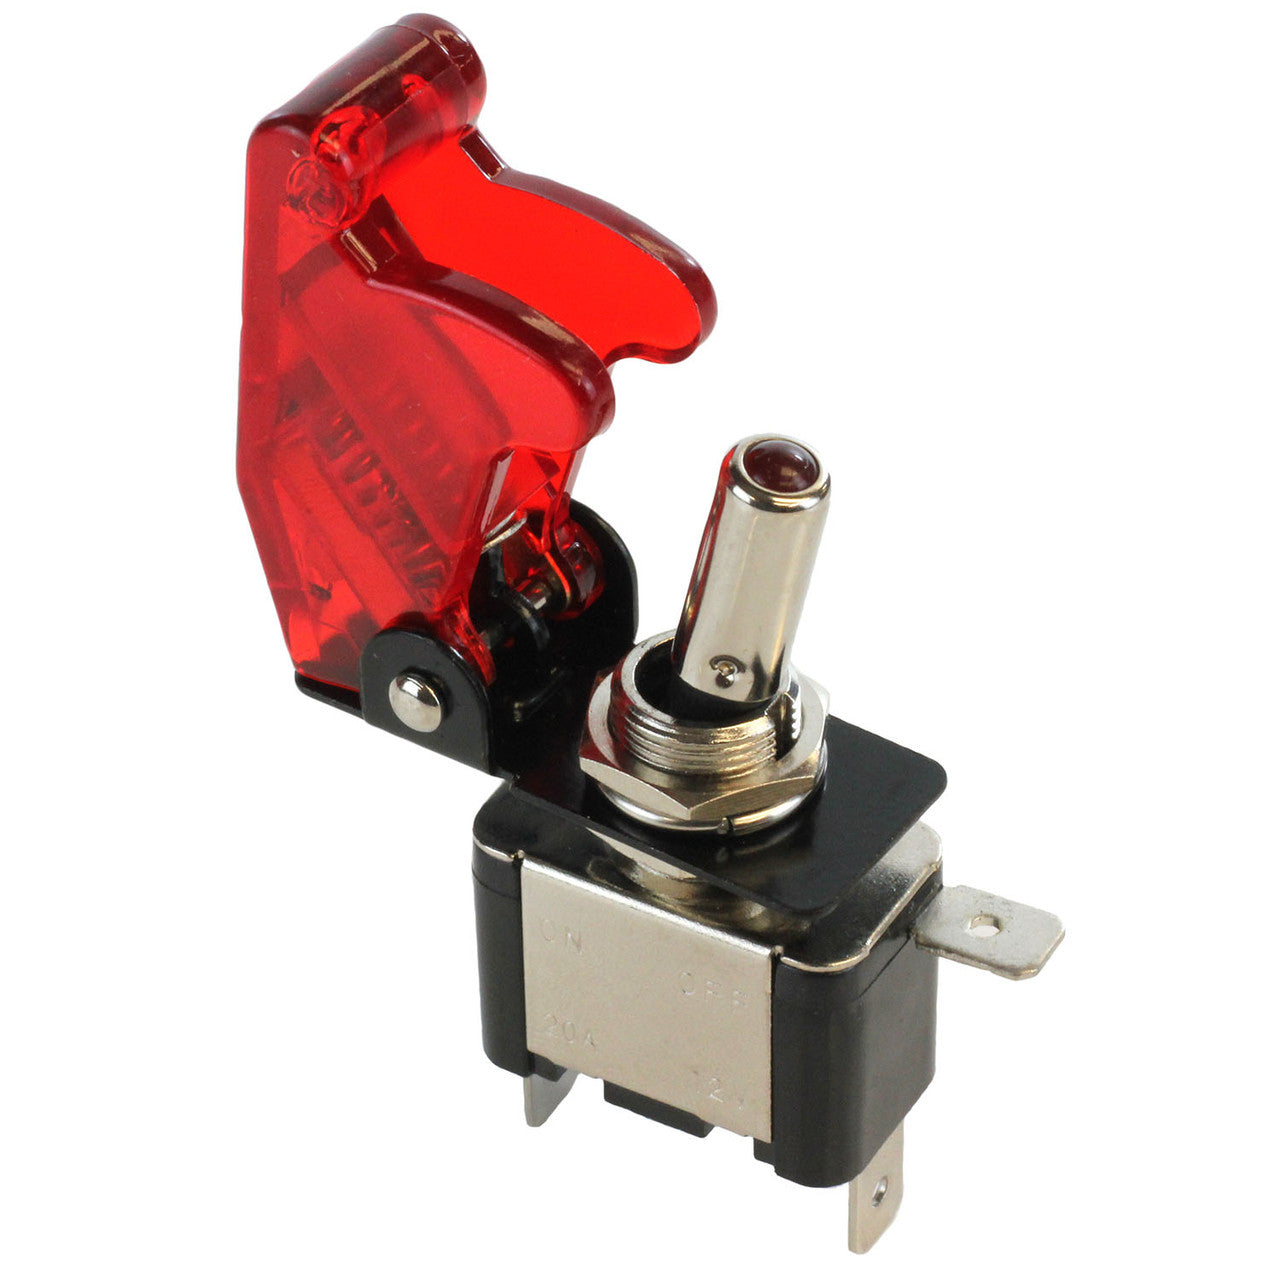
Our Exoracing illuminated rocket switches are the perfect balance of fun and functionality, giving off retro fighter jet vibes.
These switches can be used for various applications, from activating your nitrous systems to something as simple as a manual fan switch.
Our ON/OFF switches are illuminated and have a spring-loaded switch guard to stop the switch from accidentally getting activated, which gives you that reminiscent feeling of being in a fighter jet cockpit.
Wiring often intimidates people, but we've made it as simple as possible to fit and wire in your rocket switch! With instructions further down the page, we're confident you can be satisfied with wiring up your switch. Everything is made as simple as possible, from installation to switch activation. Universal wiring terminals, an easy-to-lift spring-loaded cover, and an illuminated actuator tip are why our rocket switches are so popular.
These illuminated rocket switches are available in several different styles to match any cockpit's interior. They are the perfect solution if you're looking for style, functionality, and fun.
Purchase Includes:
- 1 x Exoracing Rocket Switch
- 1 x Exoracing Lifetime Warranty
Features:
- On/off toggle switch.
- It can be used for a variety of electronics.
- Spring-loaded switch guard - the best fun ever.
- Silver-plated terminals.
- Mounting hardware pre-installed
- Easy to fit and wire.
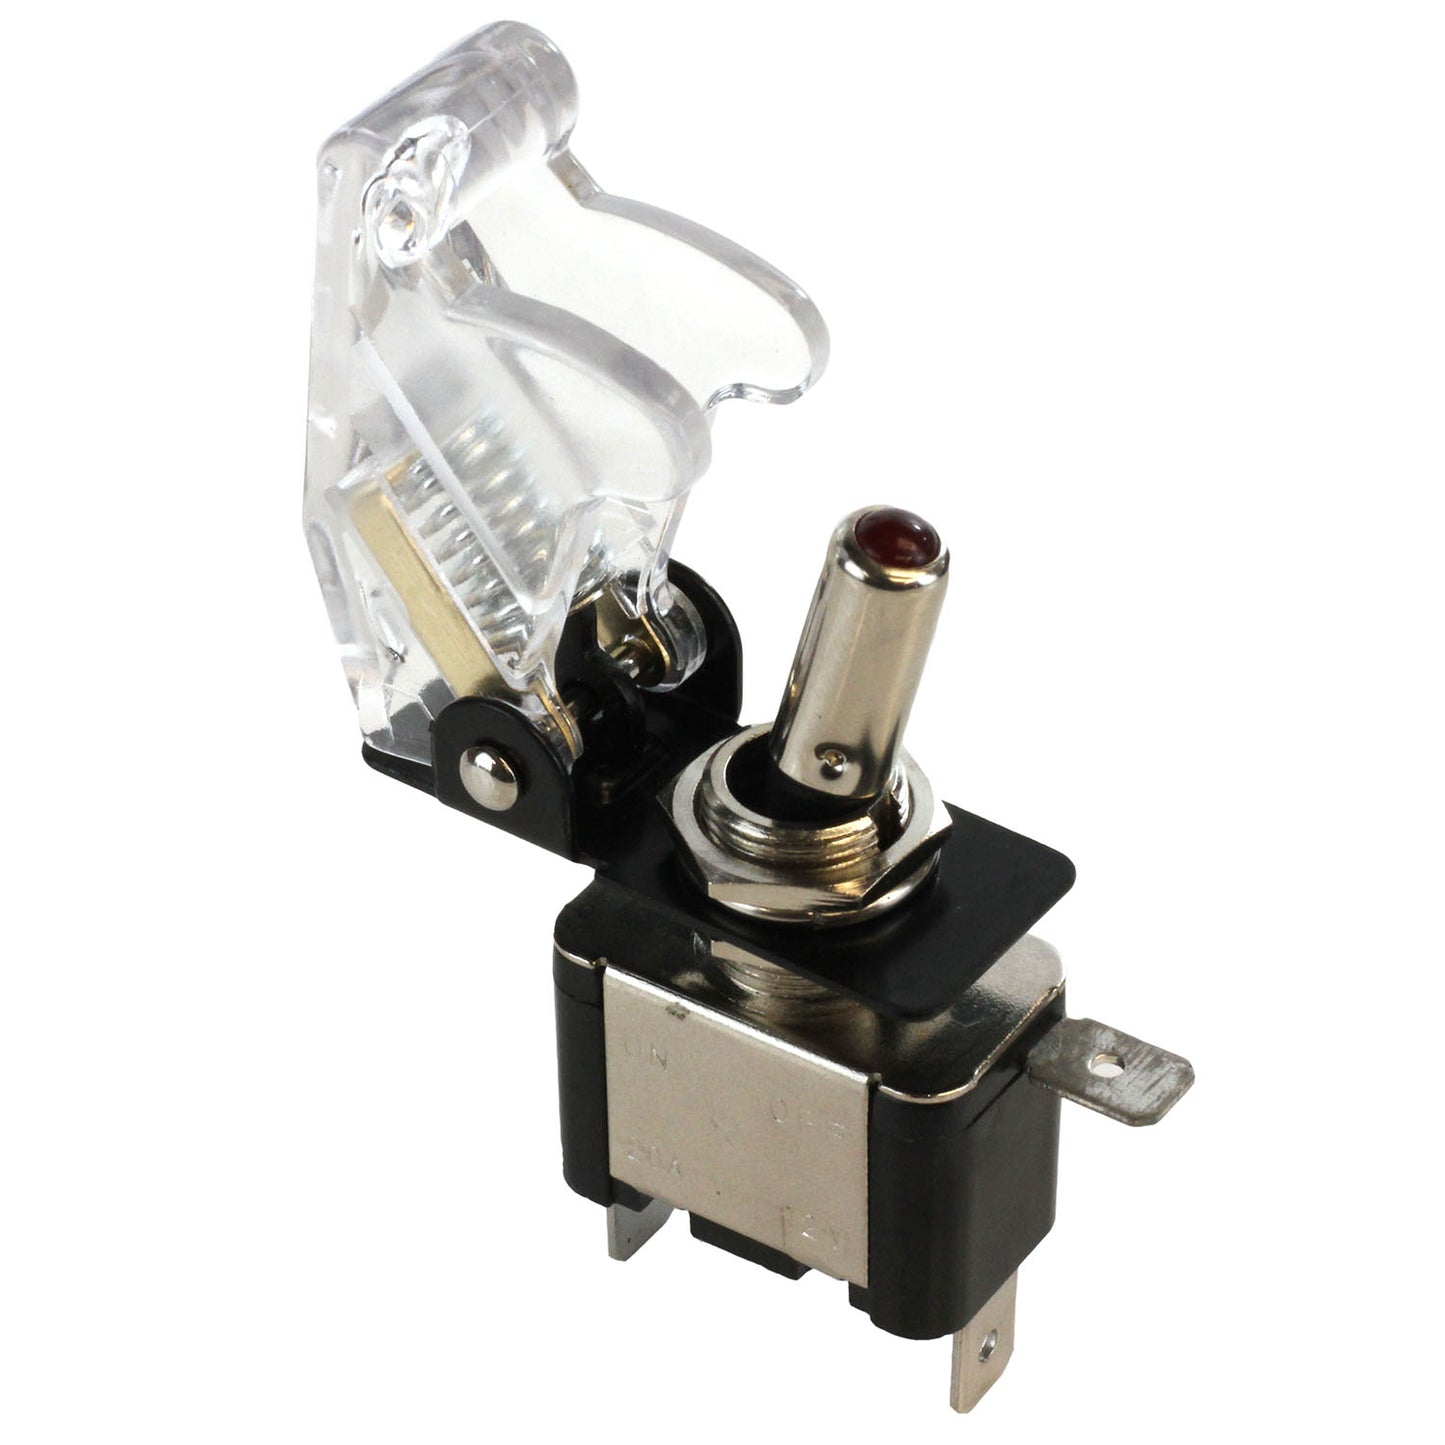
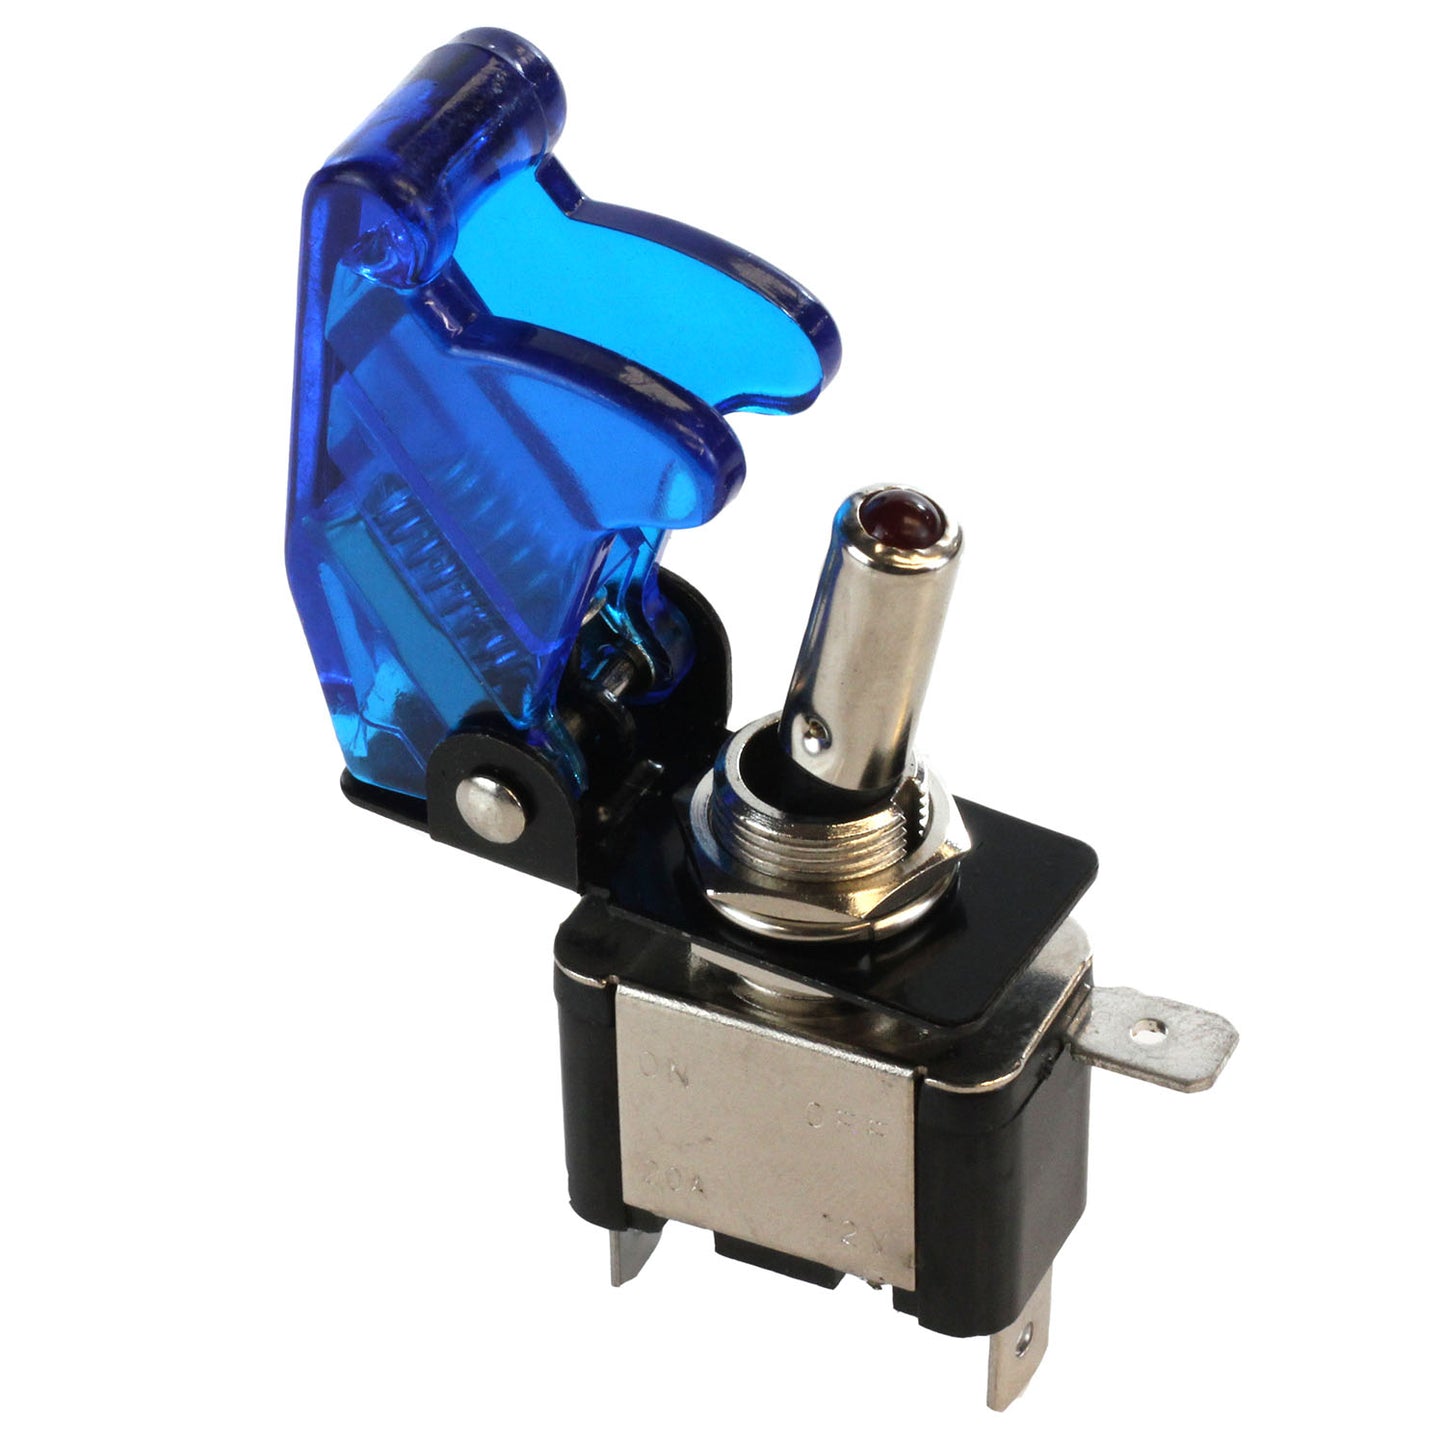
- Available in Red, Blue, and Transparent
- Voltage: 12v 20a.
- Exoracing lifetime warranty
Exoracing Illuminated Rocket Switch Installation Guide:
We've made the installation of our Exoracing Illuminated Rocket Switches as simple as possible; however, if you're not confident with automotive electronics, it may be better to seek professional help:
- The first step is to decide where you would like to place your rocket switch. Ensure plenty of space behind the panel of choice to accommodate your wiring.
- Mark the centre point for your switch, and drill the panel out to 12mm. Depending on the material you are drilling through, you may need to start with a pilot hole.
- Remove the upper 15mm nut from the actuator switch and remove the spring-loaded switch guard.
- Now that the unit is ready to install, we can start on the wiring.
- Start by running a wire from the battery or a switched ignition live, and add an inline fuse holder with a 20a fuse.
- This wire will then run to the bottom left connector on the switch marked with a plus symbol.
- The next wire we will run will be the grounding wire. Start from the negative terminal on the battery and run this to a grounding point in the car; from here, it will run to the bottom right-hand connector on the switch whilst also teeing off to the ground on the accessory the switch will be used for.
- Finally, you must run a cable from the switch's top left connector to the accessory's power terminal.
- Now you have your switch wired up correctly, you can feed the switch into your 12mm drilled hole from the back of the panel, and secure the spring loaded switch guard from the front using a 15mm spanner.
Share


